
Carry vs Total Distance: Which Number Clears Trouble?
Carry is the number to trust when a shot must fly over a hazard; total distance helps when the landing area has room for bounce and rollout. Choose your club by comparing the hazard’s far edge with the carry you can repeat, not the finish of your best shot.
Key Takeaways
- Carry distance ends where the ball first touches the ground. Total distance includes the ball’s movement after landing.
- For water, bunkers, and other forced carries, plan to clear the far edge with reliable carry plus room for normal variation.
- Use total distance for tee shots, layups, and landing zones where rollout is helpful and there is enough space to accommodate it.
- Firmness, slope, wind, lie, and landing angle can change rollout, so total distance is less consistent across conditions.
- Build a distance chart from representative shots. Use a median and the spread of results, not a personal best.
- Compare equipment by matching its setup requirements to your practice space.
Free Printable Worksheet (PDF)
Print or save the one-page companion to this guide: Personal Club-by-Club Carry vs Rollout Gapping Chart. It collects the key tables and the checklist from this article.
Carry Is the Landing Point, Total Is the Stopping Point
Carry distance is how far the ball travels through the air, from the tee or strike point to its first contact with the ground. Total distance adds the bounce and rollout after that landing, ending where the ball comes to rest.
That difference matters whenever the shot must cross a boundary. A ball that rolls beyond a bunker may have a longer total distance, but the total does not tell you whether it flew far enough to clear the bunker in the first place.
Some launch monitors measure ball flight directly in outdoor use, while indoor carry and total distances are often calculated from launch information because a net stops the ball’s flight. When using a monitor, understand whether a displayed number is measured or modeled in your particular setup. Our guide to golf launch monitor metrics explains how to select measurements for the question you are trying to answer.
To clear a hazard, choose by the flight distance you can repeat, not by where a perfect shot might stop.
For a Forced Carry, Plan Beyond the Far Edge
A forced carry is a stretch of water, rough, bunker, or other trouble that the ball must fly over. Identify the hazard’s far edge from your playing position, then compare that distance with your dependable carry for the club you are considering.
Do not base the decision on your longest shot. Use a group of representative strikes to understand both your typical carry and the shorter results that occur during normal play. A club whose average carry barely reaches the far edge leaves little room for a less than perfect strike or a change in wind.
- Use a rangefinder or course measurement to find the distance to the hazard’s far edge.
- Check your carry results for the club, including the spread between typical shots.
- Choose a club that clears the edge with a margin that fits your usual variation and the day’s conditions.
- If the safe carry requires a low probability shot, choose a safer target or a different route.
The example below uses invented figures to show the decision process. These are not a recommended club chart or a guarantee of clearance.
| Illustrative option | Far edge | Typical carry | Shorter representative carry | Planning judgment |
|---|---|---|---|---|
| Club A | Hazard edge | Short of edge | Short of edge | Does not reliably clear the hazard |
| Club B | Hazard edge | Beyond edge | Near edge | Clears in this example, but with little margin |
| Club C | Hazard edge | Beyond edge | Beyond edge | Provides more carry room in this example |
Club B’s typical carry looks sufficient, but its shorter representative result leaves only a small buffer. If the shot is into a headwind or the strike is difficult from the lie, that narrow margin may not be comfortable; Club C or a safer target may be the wiser choice.
When Total Distance Helps With Tee Shots and Layups
Total distance is useful when the ball can land short of a target and roll into the intended landing zone. That often applies to tee shots on a wide fairway, a layup into an open area, or a shot where a low trajectory can use firm ground.
For tee club selection, look at both the desired landing zone and the trouble beyond it. If your driver’s total distance can reach a bunker or boundary, a shorter club may keep the ball in play even when the driver has the longest average finish.
On a layup, choose a finishing area that gives you a manageable next shot, rather than chasing the maximum distance. A total distance chart can help you estimate where a club might stop, but only when the course’s firmness, slope, and landing conditions resemble the conditions used to build the chart.
Do not confuse the landing point with the finish. A shot can carry safely over a hazard and then roll into another problem, or land short of a target and roll toward it. Carry answers whether the ball can reach the ground beyond trouble; total distance helps estimate what happens after that.
Ground, Wind, Lie, and Landing Angle Change Rollout
Fairway firmness is one of the biggest reasons total distance changes from round to round. Soft ground absorbs more of the ball’s energy, while firm ground usually allows more bounce and rollout.
Slope also matters. A ball landing on an uphill surface tends to stop sooner than one landing on a downhill surface, and a side slope can move the final position away from the intended line.
- Wind: A headwind can reduce carry, while a tailwind can extend it. Crosswinds can shift the ball away from the intended landing zone.
- Lie: A clean fairway lie and a lie in rough can produce different contact and launch. Grass caught between the club and ball can also change spin and distance.
- Trajectory: A higher shot often lands more steeply and rolls less. A lower shot can arrive flatter and travel farther along firm ground.
- Landing surface: A slope, soft patch, or firm runout can make two shots with similar carry finish in different places.
For an approach shot, plan first for a safe landing area, then account for the pin and likely rollout. Aiming directly at the flag can bring a bunker or short sided miss into play when the better target is the center or safe side of the green.
Build a Useful Carry and Total Distance Chart
To establish personal distances, record a set of representative shots with each club under consistent conditions. Leave out obvious mishits when estimating a normal strike, but do not delete every short result simply because it lowers the number.
Use the median carry as a practical center point, then note how far shorter and longer your typical shots fall. This gives you a useful picture of both expected distance and shot dispersion. For a forced carry, pay particular attention to the shorter side of that pattern.
Track total distance separately, ideally on a surface with firmness and slope similar to the course where you plan to use it. Indoor totals can be modeled, and simulator settings such as altitude or ball type can affect the displayed result. Keep the settings consistent between sessions so a change in the chart reflects your shots rather than a change in the setup.
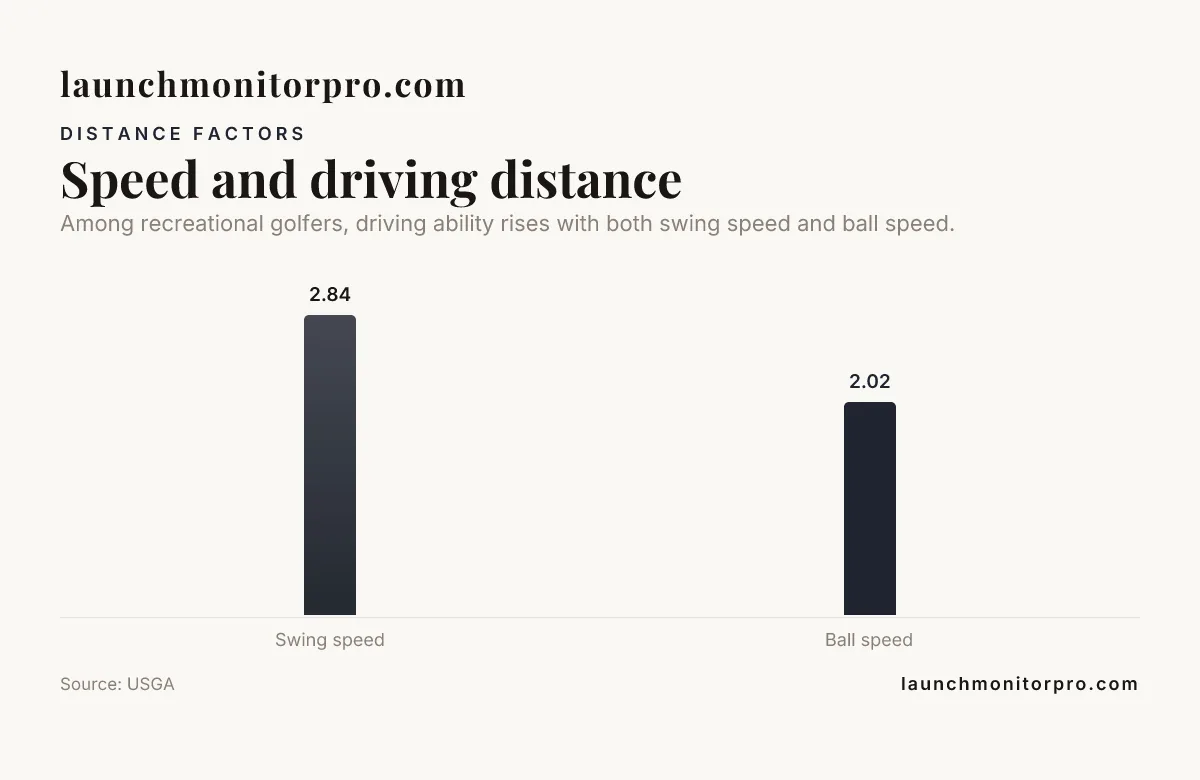
Among recreational golfers, driving ability rises with both swing speed and ball speed.
Source: USGA
A launch monitor can make practice distance tracking easier, but the device does not make every displayed number equally useful for every decision. Use carry for clearance and approach landing plans, then use total distance when you are judging how far a shot may run.
Use a Rangefinder and Launch Monitor for Different Jobs
A rangefinder tells you the distance to a selected point, such as the far edge of a hazard or the front of a green. It does not predict your club’s carry, landing point, or final stopping distance, so combine its target measurement with your own distance chart.
Launch monitor setup can affect the usefulness of distance information, especially indoors. The Garmin Approach R10 is a radar launch monitor, and Garmin’s setup guidance places it 6 to 8 feet behind the ball with at least 8 feet between the ball and net.
The Rapsodo MLM2PRO uses radar and two optical cameras. Its manufacturer setup guidance calls for 6.5 to 8.5 feet between the device and ball, plus at least 8 feet from the ball to the net.
| Launch monitor | Device type | Setup distance behind ball | Ball to net guidance |
|---|---|---|---|
| Garmin Approach R10 | Radar | 6 to 8 feet | At least 8 feet |
| Rapsodo MLM2PRO | Radar and two optical cameras | 6.5 to 8.5 feet | At least 8 feet |
Indoor setup guidance describes device placement, not the distance your club will carry on a course. The FlightScope Mevo+ is discussed in relation to the 10 feet of meaningful ball flight rule for indoor capture, which is about consistent space for tracking rather than a promise of carry accuracy.
The Bushnell Launch Pro is a camera based monitor for indoor and outdoor use. The Uneekor EYE MINI CORE uses two cameras, sits on the ground, and requires a PC; these design details help describe the setup, but your on course club choice still depends on reliable carry and course conditions.
The FlightScope Mevo+ and Garmin Approach R10 setup discussion also explains why indoor placement and visible flight matter when comparing launch monitor results.
Checklist for Choosing the Right Distance Number
- Is the ball required to fly over trouble? Use carry.
- Have you measured the far edge, rather than only the near edge or pin?
- Does your selected club clear the far edge with your normal carry variation included?
- Is the landing area firm, soft, sloped, or likely to create an unusual bounce?
- Could wind, rough, or a change in trajectory shorten carry or alter rollout?
- Does the target have room for the ball to run if you choose by total distance?
- Are your distance chart and launch monitor settings consistent with the conditions you are comparing?
See also: launch monitor buying guides, ball speed vs club speed.
Summary
Carry vs Total Distance The answer is carry whenever the ball must fly over a hazard or reach a landing area in the air. Use total distance when there is room for rollout and the ground conditions make the finish useful to estimate.
Build your club choices around repeatable carry, the far edge of trouble, and normal shot variation. Treat total distance as a separate planning tool for safe landing zones, tee shots, and layups, not as proof that a shot can clear an obstacle.
Frequently Asked Questions
Is one yard of carry enough to clear a hazard?
One yard of clearance leaves little protection against a small change in strike, wind, or measurement. Choose a margin that reflects your own shot variation and the consequences of missing short.
Should I use the same carry chart from the fairway and the rough?
No, keep track of how different lies affect your results. A rough lie can change contact and launch, so use a more conservative estimate when you do not have a dependable carry pattern for that lie.
Does a downhill green make total distance less predictable?
It can, because the slope may add forward movement after landing. For an approach, prioritize the safe part of the green and avoid assuming the ball will stop near the landing point.
Can I compare indoor launch monitor carry directly with outdoor course carry?
Use indoor numbers as a consistent practice reference, not an automatic match for outdoor conditions. The ball, settings, available flight, and outdoor weather can all affect how the numbers relate.
What should I do when a safe carry requires a club I rarely hit well?
Choose a route that fits a dependable shot rather than forcing a low confidence carry. A layup or a different target can leave a better next shot than a risky attempt to fly the trouble.
Download the Companion Printable Sheet (PDF)
Print or save the one-page companion to this guide: Personal Club-by-Club Carry vs Rollout Gapping Chart. It collects the key tables and the checklist from this article.
Published by Launch Monitor Pro, a publication of Viking Trading Group LLC.