
Indoor Launch Monitor Setup: Find the Right Ball Position
To find the right ball position in an indoor launch monitor setup, align your stance with the target line and place the ball inside the device’s capture zone. Set the correct handedness, place one ball, and wait for the monitor to show that it is ready before you swing.
Key Takeaways
- Separate two setup jobs: Your stance determines where the ball sits relative to your feet; the monitor’s capture zone determines where the ball must sit for the device to read it.
- Use the device’s alignment reference, not the mat’s center. Find its marked hitting area or follow its on-screen guide.
- Change ball position by club. Irons tend to sit near the middle of your stance, while a driver sits farther forward, toward the lead heel.
- Check the device before adjusting your swing. Confirm its handedness setting, alignment, ball detection, and club mode first.
- Keep setup measurements consistent. Our home golf simulator setup guide covers the room and equipment layout that supports repeatable practice.
- Compare models by their placement needs. Our guide to choosing a golf launch monitor can help you assess which type suits your space.
Free Printable Worksheet (PDF)
Print or save the one-page companion to this guide: Photometric vs Radar Indoor Hitting Zone Calibration Checklist. It collects the key tables and the checklist from this article.
Related guides
Ball Position and Capture Zone Are Different Things
Your stance position is the ball’s location in relation to your feet and body. The capture zone, sometimes called the hitting zone, is the area where the launch monitor expects the ball to sit so its sensors can detect it.
Those locations must work together, but they are not interchangeable. A ball can look correctly placed for your stance and still sit outside the monitor’s capture area. It can also be inside the capture zone while too far forward or back for the club you are using.
Use your device’s setup diagram, target marks, or app prompts to find its capture area. A ground-based launch monitor may show a footprint beside or in front of the ball, while an overhead model may use a different alignment reference. Follow the guidance for your model instead of copying another device’s ball location.
The Uneekor EYE MINI CORE and FlightScope Mevo Gen2 comparison describes the CORE’s 12 by 8 inch hitting zone. This is a device-specific capture area, not a recommended stance position for every golfer or club.
Use the screen’s ready indicator or ball lock when available. If your monitor has no clear status, follow its setup guidance and check the app’s shot-read feedback before hitting at full speed.
Set Ball Position for Irons and Driver
Start from a consistent stance, then adjust the ball in relation to your feet as the club changes. For a right-handed golfer, move the ball forward toward the left foot. Left-handed golfers use the opposite reference.
| Club or reference | Starting ball position | Setup cue |
|---|---|---|
| Short and middle irons | Near the middle of the stance, with longer irons slightly forward | Keep the ball position steady while the stance gradually widens for longer clubs. |
| Driver | Forward in the stance, near the lead heel | Set the tee and ball consistently, then check that both remain inside the capture zone. |
| Left-handed golfer | Use the opposite of the right-handed positions | Set the monitor to left-handed mode before checking the ball location. |
| Physical reference | A golf ball measures 4.27 cm in diameter, according to the National Library of Medicine, PubMed Central. | Use the ball itself as a consistent reference when practicing your setup. |
Stance width changes the visual reference between your feet and the ball. Widening your stance for a driver can make the ball appear farther forward, so keep your foot alignment and target line consistent instead of judging position by the mat’s edges.
Do not slide the ball forward or back just to make a shot result look better. If the monitor reads the ball but contact, launch, or direction changes, first check the alignment and setup, then assess your swing. The guide to launch monitor metrics explains how to read common ball and club measurements without treating every result as a setup problem.
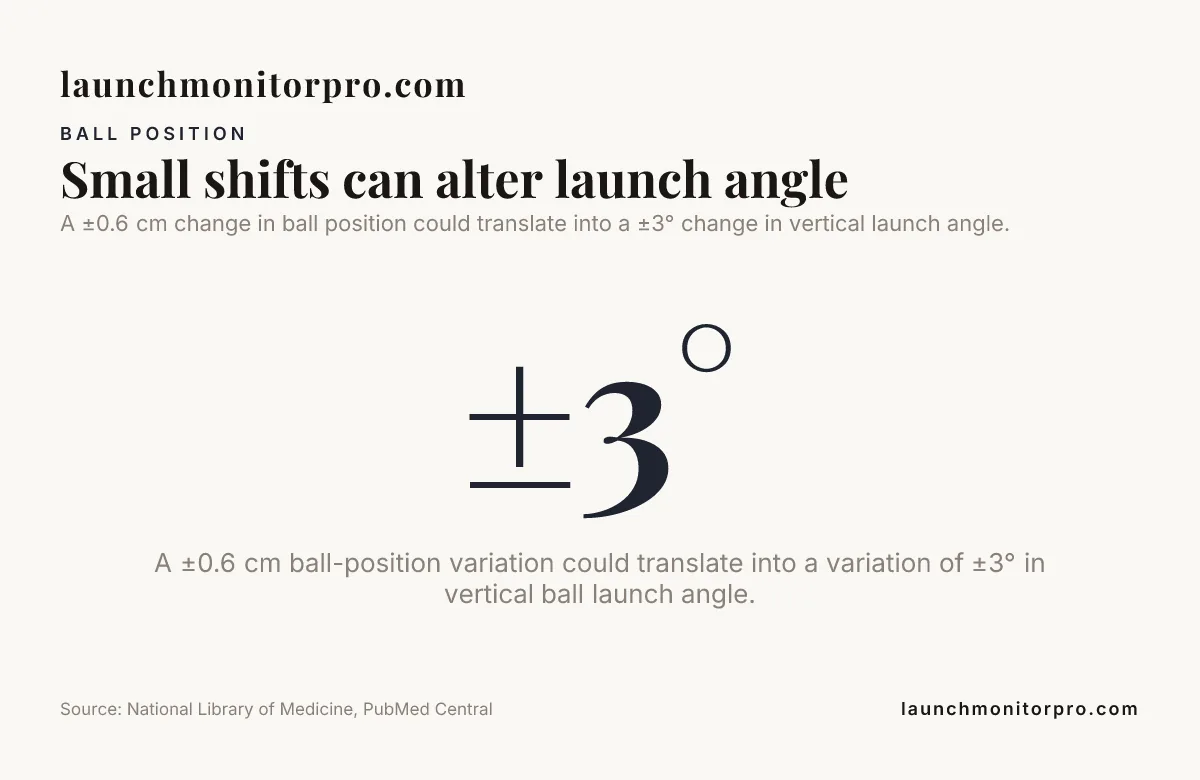
A ±0.6 cm change in ball position could translate into a ±3° change in vertical launch angle.
Find the Right Position for Your Launch Monitor
Radar and camera-based launch monitors use different layouts. Radar units commonly sit behind the ball and track its flight, while ground-based camera units read the ball near the hitting area. Follow the placement guidance for your model, since one position does not fit every device.
| Launch monitor | Indoor placement guidance | What to keep consistent |
|---|---|---|
| Garmin Approach R10 | Place it 6 to 8 feet behind the ball, with at least 8 feet from the ball to the net. | Keep the radar line, ball, and target aligned. Garmin’s Approach R10 setup and feature guide discusses its placement guidance. |
| Rapsodo MLM2PRO | General guidance gives 6.5 to 8.5 feet behind the ball and at least 8 feet from the ball to the net. | Use the correct RPT ball when relying on its measured spin data, and keep the device position fixed. |
| Uneekor EYE MINI CORE | Its specified hitting zone is 12 by 8 inches. | Keep the unit level with the hitting surface and put the ball within the displayed zone. |
| FlightScope Mevo Gen2 | Place it 8 feet behind the tee and allow 8 feet of indoor ball flight. | Keep the ball, unit, and target line in the same relationship from shot to shot. |
| FlightScope Mevo+ | Plan for about 10 feet of early ball flight when applying the indoor flight guidance. | Measure usable space from the ball’s starting point, not just from the monitor to the wall. |
For the Garmin Approach R10 and Rapsodo MLM2PRO, follow each radar unit’s behind-the-ball instructions and keep it centered on the intended target line. Our Garmin R10 and Rapsodo MLM2PRO comparison outlines their indoor placement guidance.
FlightScope Mevo+ users should account for the ball’s early flight space as well as the unit’s position behind the hitting area. Our Mevo+ and Garmin R10 indoor placement guide explains why a repeatable flight path matters for radar readings.
Camera-based models such as the Bushnell Launch Pro, SkyTrak+, and Uneekor EYE MINI use their own target and capture references. For the Bushnell Launch Pro and SkyTrak+, use the device’s alignment view and marked ball area to position the ball. Our Bushnell Launch Pro versus SkyTrak+ comparison covers the two systems.
Level the Unit and Keep the Mat Setup Stable
A ground-based launch monitor should sit level with the hitting surface, following its setup instructions. When the device rests on the floor and the ball sits on a raised mat, the height difference can change the relationship between the sensors and the ball.
Keep the mat, unit, and ball in their intended positions. If you change the mat thickness, move the monitor, adjust tee height, or shift the hitting area, repeat the alignment and detection check before continuing a session.
Overhead systems have their own camera orientation and hitting-area setup. Confirm that the active hitting position matches the software’s view, and follow the manufacturer’s calibration prompts rather than ground-unit placement rules.
Use This Repeatable Setup Check
- Set handedness. Choose right-handed or left-handed play in the monitor or software before placing the ball.
- Align the target line. Point the mat and device toward the target, then check that your feet and clubface use the same reference.
- Place one ball. Put it inside the device’s capture zone and at the right position for the club and stance.
- Wait for detection. Look for ball lock, a ready status, or the device’s equivalent confirmation.
- Hit only after confirmation. A swing before detection can produce a missed shot or an unreliable read.
- Repeat after changes. Check the setup again after moving the monitor, mat, tee, or calibration equipment.
Use an alignment stick along the target line during setup, then remove it from the swing path and capture area before hitting. A second reference across the toes can help you repeat foot alignment, but it should not obstruct a camera view or interfere with the monitor’s calibration markers.
Fix Missed Reads Before Changing Your Swing
If the launch monitor does not recognize the ball, start with the simplest setup checks. Confirm that the ball is inside the capture zone, the device is in the correct handedness setting and club mode, and the app shows the monitor as connected and ready.
- Remove extra golf balls from the capture area and clear reflective objects that may confuse optical detection.
- Check that calibration equipment is placed where the device instructions specify, and move anything that blocks the camera’s view.
- For a ground-based unit, confirm that the device is level with the hitting surface and has stayed in place.
- For radar, verify the distance behind the ball and the available indoor flight space.
- If ball placement is correct, check lighting, calibration, device connection, software settings, and the selected club mode before moving the ball.
When the monitor detects the ball but reports inconsistent shots, keep the device and ball location fixed while testing. Change one factor at a time, such as the club mode or ball type, so you can tell whether the issue comes from setup or from the shot itself.
Checklist for Consistent Indoor Ball Position
- ☐ Select the correct handedness setting.
- ☐ Confirm the device’s capture zone using its setup diagram or on-screen prompt.
- ☐ Align the monitor, hitting mat, ball, and target line.
- ☐ Set ball position relative to your stance and club, not just the mat center.
- ☐ Use one ball and clear reflective objects from the detection area.
- ☐ Keep ground-based equipment level with the hitting surface.
- ☐ Wait for ball lock or ready status before swinging.
- ☐ Recheck the setup after changing the mat, tee height, or monitor position.
See also: launch monitor buying guides, golf simulator room dimensions.
Summary
The key to Indoor Launch Monitor Setup is to keep your stance reference separate from the device’s capture zone. Set handedness and alignment, place the ball for the club you are hitting, and wait for the monitor to confirm detection before each shot.
Frequently Asked Questions
Should I mark different ball positions for each club?
You can use removable marks on the mat or alignment aids to establish repeatable starting points for irons and driver. Keep those marks outside the device’s capture view and your swing path, and still confirm that each ball sits inside the monitor’s detection area.
Can right-handed and left-handed golfers share one indoor setup?
Yes, if the device supports both orientations. When players switch sides, realign to the new player’s target line instead of relying on the previous player’s alignment marks.
Should I move the monitor when I change clubs?
Keep the unit in place unless its instructions call for a different position.
What if the app has no visible ball lock indicator?
Use the device’s setup guide to identify its detection area, then make a controlled test shot and check whether the app records it. If it misses, confirm the device connection and software mode before shifting the ball outside the specified area.
Can tee height change a launch monitor reading?
Yes. Keep tee height consistent when comparing shots, especially with a driver, and check that the ball remains inside the device’s capture zone after changing it.
Download the Companion Printable Sheet (PDF)
Print or save the one-page companion to this guide: Photometric vs Radar Indoor Hitting Zone Calibration Checklist. It collects the key tables and the checklist from this article.
Published by Launch Monitor Pro, a publication of Viking Trading Group LLC.
Related reading: mark unit and ball distances with the radar launch monitor distance checklist.