
Club Path and Face Angle: Diagnose Starting Direction
Diagnose starting direction by reading the ball’s initial launch first, its curve second, and impact data third. This guide, published by Viking Trading Group LLC through Launch Monitor Pro, explains how to use those clues without blaming the wrong part of your swing.
Key Takeaways
- The face angle is the main clue to starting direction. The club path helps explain the curve by showing how the face is oriented relative to the swing direction.
- Read the shot in order: note where it starts, identify whether it curves left or right, then compare face angle with club path.
- A ball flight pattern cannot give you a precise club path reading. Use impact data to confirm the delivery pattern, and check strike location if the curve looks unexpected.
- There is no single ideal path number for every golfer or club. Focus on a repeatable start line and a face to path relationship that creates the shot you intend.
- Check your monitor’s target line and handedness settings. Sign conventions and screen orientation can change how left and right appear in the readings.
- For device features and club data, start with our guide to launch monitor metrics.
Free Printable Worksheet (PDF)
Print or save the one-page companion to this guide: 9-Ball-Flight D-Plane Diagnostic Matrix. It collects the key tables and the checklist from this article.
Related guides
What Face Angle and Club Path Measure
Face angle describes the direction the clubface points at impact relative to the target line. If the face points right of the target for a right handed golfer, it is open to the target; if it points left, it is closed.
Club path describes the clubhead’s direction of travel through impact relative to the target line. A path moving right of the target for a right handed golfer is commonly called in to out, while a path moving left is out to in.
Face to path is the face angle compared with the club path. The difference helps explain curve: for a right handed golfer, a face pointing right of the path tends to produce fade curvature, while a face pointing left of the path tends to produce draw curvature.
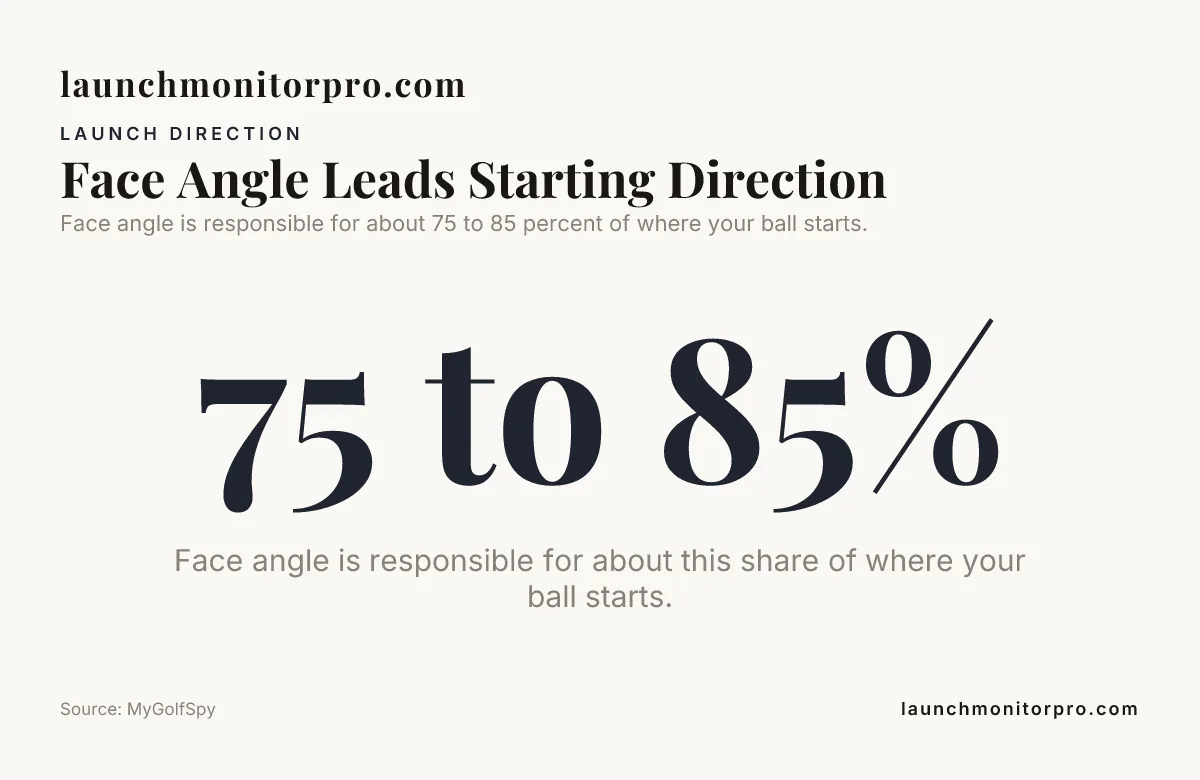
Starting direction is driven mostly by face angle, not by path alone. MyGolfSpy states that face angle is responsible for about 75 to 85 percent of where your ball starts.
That does not make face angle a complete explanation of the shot. It helps explain where the ball launches; the relationship between face and path, strike location, and spin axis help explain what happens next.
Start With Launch Direction, Then Read the Curve
To diagnose an offline starting line, first note whether the ball launched left or right of the target. Then observe whether it curved farther in that direction or worked back across the target line.
- Set the target line. Align the monitor and your visual reference to the same intended line.
- Record the start. A ball beginning right is a push; one beginning left is a pull. These labels describe direction, not cause.
- Track the curve. A right handed golfer’s ball curving right is fading; a ball curving left is drawing. A stronger curve may be called a slice or hook.
- Compare face angle and path. Use face angle to interpret the start and face to path to interpret the curve.
- Check contact. If the curve does not fit the face to path reading, inspect strike location before changing your swing.
For a right handed golfer, a ball that starts right and curves left can be a push draw: the face points right of the target, but left of the more rightward path. A ball starting right and curving farther right can be a push fade.
Ball flight alone cannot establish a precise club path. Several combinations of face angle, path, and strike can create similar flights, so use launch monitor club data to confirm the delivery pattern rather than guessing a path from the shot shape.
Common Shot Patterns and Illustrative Readings
The examples below assume a right handed golfer, a correctly aligned target line, and centered contact. They are illustrative readings, not fitting targets; actual launch and curve also depend on the club, strike, and delivery.
| Face angle | Club path | Face to path | Likely pattern |
|---|---|---|---|
| 0° | 0° | 0° | Starts near the target and flies relatively straight |
| Plus 2° | Plus 5° | Minus 3° | Push draw, starts right and curves left |
| Plus 3° | Plus 1° | Plus 2° | Push fade, starts right and curves farther right |
| Minus 2° | Minus 5° | Plus 3° | Pull fade, starts left and curves right |
| Minus 3° | Minus 1° | Minus 2° | Pull draw, starts left and curves farther left |
A straight push begins right and stays close to that line, while a push fade begins right and bends farther right. A pull is not proof of an out to in path: the face may simply point left of the target, so check both measurements before diagnosing the miss.
For left handed golfers, the familiar curve labels reverse relative to the golfer’s orientation. Also check how the monitor defines positive and negative direction. Some displays orient direction from the target’s view, while others reflect the golfer’s handedness or screen setup.
Read Launch Monitor Data Without Chasing One Number
Use ball data to describe what happened and club data to help explain why. Launch direction and spin axis describe the ball’s response; face angle and club path describe parts of the club’s delivery at impact.
When readings conflict with what you saw, check the monitor’s target alignment, selected handedness, and shot record first. Then inspect the strike. A single shot can be useful, but a repeated pattern is a better reason to make a swing change.
Available features differ by monitor and software. The following examples show why it helps to confirm that the practice screen provides the club metrics you want to use.
| Monitor | Documented details | How it relates to diagnosis |
|---|---|---|
| Garmin Approach R10 | Portable radar; setup guidance places it 6 to 8 feet behind the ball and at least 8 feet from ball to net indoors; up to 10 hours of battery life | Use the app’s available fields and setup guidance when reviewing directional patterns. |
| Rapsodo MLM2PRO | Radar and two optical cameras; 15 listed metrics, including 8 measured metrics | The manufacturer’s listed metrics include club path; the club data workflow uses handedness settings. |
| FlightScope Mevo Gen2 | Fusion Tracking combines radar and optics; the documented core package includes 20 data parameters; indoor setup calls for 8 feet behind the ball and 8 feet of limited ball flight | Use the exact model’s displayed club fields when interpreting an indoor session. |
| SkyTrak+ | Photometric tracking plus dual Doppler radar | Review the club and ball data available in the selected practice workflow. |
| Bushnell Launch Pro | Three camera launch monitor for indoor and outdoor use | Use its club and ball readings together rather than treating one field as a full diagnosis. |
| Uneekor EYE MINI CORE | Two camera, ground based launch monitor; club data requires paid access and club stickers | Include club data access in the workflow you plan to use for diagnosis. |
Golfers comparing FlightScope Mevo+ with other systems should apply the same rule: interpret the metrics shown by the specific unit and software in use. Check each device’s sign convention and handedness setting before comparing path values.
The key question for this lesson is whether your chosen setup gives you usable face angle and club path readings in the practice mode you intend to use.
Strike Location and Gear Effect Can Change the Curve
Off center contact can complicate a face to path diagnosis, especially with a driver. Gear effect can add curvature: for a right handed golfer, a toe strike on a driver tends to add draw spin, while a heel strike tends to add fade spin.
If the ball curves against the pattern suggested by face to path, check where the ball contacted the face before changing path. Use impact tape, face spray, or another reliable strike marking method, then compare centered strikes with off center ones.
Strike location can also vary from shot to shot. If the monitor shows a changing path and the contact pattern changes at the same time, first work toward repeatable contact; do not treat every curve as evidence that the swing direction needs correction.
Choose an Adjustment That Matches the Diagnosis
When the starting line is the main problem, assess face angle and setup before making a path change. Check clubface aim, body alignment, and the monitor’s target line, then make one adjustment and see whether the start improves.
When the start is acceptable but the ball curves too much, compare face angle with path. A large difference points to a face to path relationship to address, but use the strike record too so you do not change delivery to compensate for inconsistent contact.
Do not chase a neutral path as a universal goal. A golfer can intentionally deliver the club in to out or out to in and still produce a controlled shot when the face relationship and start line suit the intended shape.
We recommend a simple, repeatable practice process: use two groups of ten shots, keep ordinary misses in the record, and make one deliberate change between groups. Compare start direction, curve, face angle, club path, and strike location rather than judging success from one unusually good shot.
Practice Checklist
- ☐ Confirm the target line and monitor alignment.
- ☐ Set the correct handedness in the monitor or app.
- ☐ Record whether the ball starts left or right before naming the curve.
- ☐ Compare face angle with club path to interpret face to path.
- ☐ Check strike location when the observed curve conflicts with the readings.
- ☐ Look for a repeated pattern before changing your setup or swing.
- ☐ Change one variable at a time, then compare the next group of shots.
See also: launch monitor buying guides, ball speed vs club speed.
Summary
Club Path and Face Angle by separating the ball’s start from its curve. Use face angle to understand the launch line, face to path to understand curvature, and strike location to catch patterns that the two club numbers alone may not explain.
When you make a change, confirm it with a group of shots and consistent monitor alignment. That process helps distinguish a face issue from a path issue without turning one miss into a swing overhaul.
Frequently Asked Questions
Does a zero club path guarantee a straight shot?
No. Check the face direction relative to the path and the strike before drawing a conclusion from a zero path reading.
Why do some launch monitors show positive path values while others show negative values?
Monitors can use different sign and viewing conventions, and handedness settings can affect the display. Confirm the selected golfer orientation and the device’s target line before comparing readings from different systems.
Should I use the same club path goal with a driver and an iron?
No. Choose a delivery pattern that supports the shot you want with that club, then judge it by repeatable ball flight.
Can the same face to path reading create different curves with a driver and a wedge?
Yes. When comparing clubs, use their own strike and flight patterns rather than expecting identical curvature from matching numbers.
Should I recalibrate the target line when I move my launch monitor?
Yes. After repositioning it, hit along the intended target line and verify that the displayed direction matches the actual start.
Download the Companion Printable Sheet (PDF)
Print or save the one-page companion to this guide: 9-Ball-Flight D-Plane Diagnostic Matrix. It collects the key tables and the checklist from this article.
Published by Launch Monitor Pro, a publication of Viking Trading Group LLC.