
Golf Simulator Room Dimensions: Measure Every Swing Zone
Size a golf simulator room by measuring clear floor space, ceiling clearance, and the full path from launch monitor to impact screen. Then test the layout with every intended golfer using a normal swing and their longest club.
Key Takeaways
- Measure usable space after accounting for the hitting mat, screen enclosure, beams, fixtures, door tracks, and other permanent obstructions.
- Check the full swing zone, not only the spot where the golfer stands. Test each player’s longest club with a normal swing.
- Split room depth into the monitor zone, hitting position, ball-flight area, screen buffer, and space behind the screen.
- Radar launch monitors such as Garmin Approach R10 and FlightScope Mevo+ need room for both device placement and visible ball flight.
- For product options, compare launch monitors after you have measured the room.
- Plan for right-handed and left-handed players separately if both will use the simulator.
Free Printable Worksheet (PDF)
Print or save the one-page companion to this guide: Garage & Spare-Room Simulator Dimension Worksheet. It collects the key tables and the checklist from this article.
Related guides
Measure the Clear Room, Not the Empty Room
Start with the room’s finished floor and measure the clear width, depth, and height. Measure from the surface the golfer will stand on, including the top of the hitting mat, because that is the real starting point for ceiling clearance.
Mark the fixed obstacles on a simple room sketch. Include support posts, beams, light fixtures, fans, heating equipment, utility panels, garage door tracks, and any floor transitions that could affect the mat or stance.
Next, outline the complete setup: impact screen and frame, screen buffer, tee position, monitor location, projector, and any side protection. The room’s overall dimensions can look generous while the usable swing zone is limited by a low beam or a door track.
Our home simulator setup guide shows how device position, ball flight, swing space, and containment fit together.
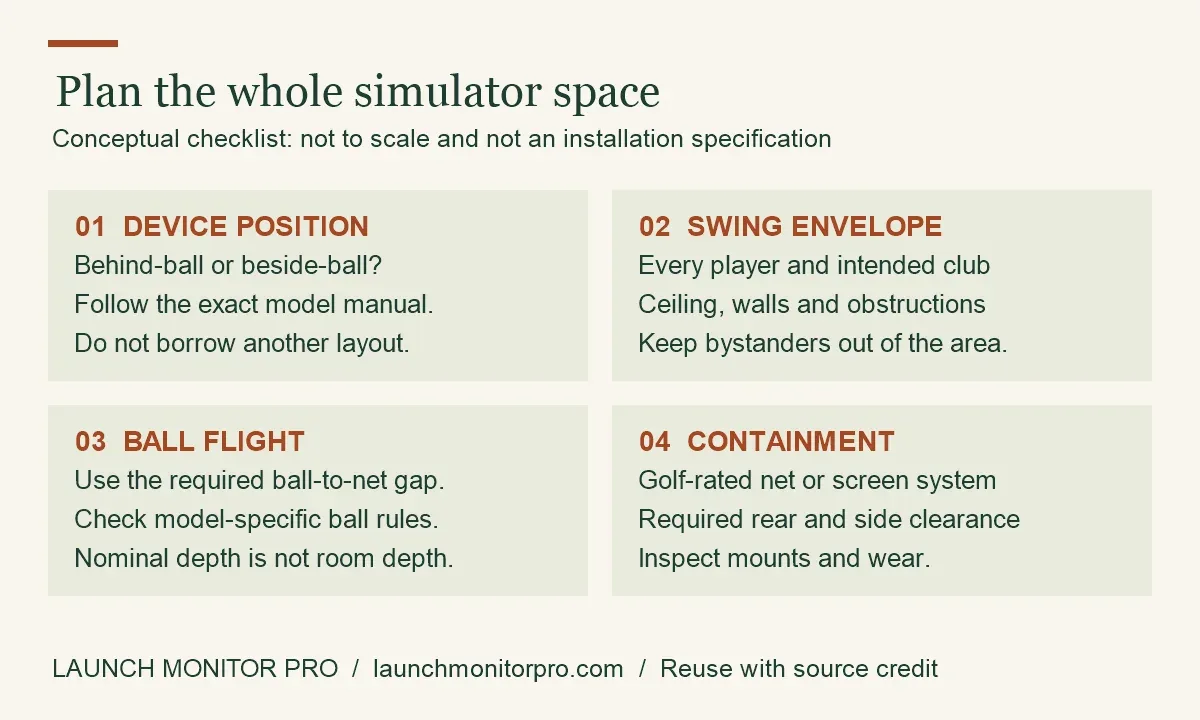
Keep a clear outline of the mat and screen on the floor with painter’s tape. This makes it easier to see whether the tee, monitor, and golfer have room without shifting into a walkway or putting a wall inside the swing path.
Check Ceiling Clearance Across the Whole Swing Zone
Measure ceiling height above the tee, the full club arc, and the projector mounting area. A single measurement in the center of the room can miss a dropped soffit, sloped ceiling, exposed beam, or light that sits directly over the golfer.
BenQ’s room measurement guide gives these reference points for indoor simulator planning:
| Area to measure | Reference |
|---|---|
| Ceiling for the average golfer | 9 to 10 ft for comfortable indoor practice |
| Width for right-handed and left-handed golfers | Over 15 ft total width is ideal |
| Tee position from the impact screen | Around 10 to 12 ft |
| Swing area either side of the tee | At least 10 to 12 ft either way |
| Impact screen from the wall behind it | Around 1.5 ft |
These are useful planning references, not a substitute for a physical swing test. A golfer’s height, posture, club choice, and swing shape all affect the clearance they need.
Have each player take a normal practice swing with their longest club while standing on the planned hitting surface. Check for contact with the ceiling, fixtures, walls, projector, or stored items. Do not ask the golfer to shorten a swing to make the room appear workable.
Plan Width for the Tee and Every Golfer
A centered tee keeps the screen image symmetrical, but it may not leave enough room for the golfer’s hands and clubhead. An offset tee can move the hitting position away from a wall or post, but it also shifts the golfer’s view and changes the available space on each side.
For a room used by both right-handed and left-handed golfers, test both stances. The golfer needs room for the clubhead and hands on the open side, plus space to stand and swing without brushing a wall or enclosure.
- Mark the centerline of the impact screen and the intended tee position.
- Place a club on the mat in each stance and trace the golfer’s full swing arc.
- Check whether each player can use the same tee or needs a second hitting position.
- Keep the launch monitor and loose cables outside both swing paths.
If the room is too narrow for two safe stances, a movable hitting strip or offset tee may help, but only if both positions still face the screen and preserve the monitor’s required alignment. Do not solve a width problem by asking one player to swing close to a wall.
Divide Depth Into the Monitor, Hitter, and Screen Zones
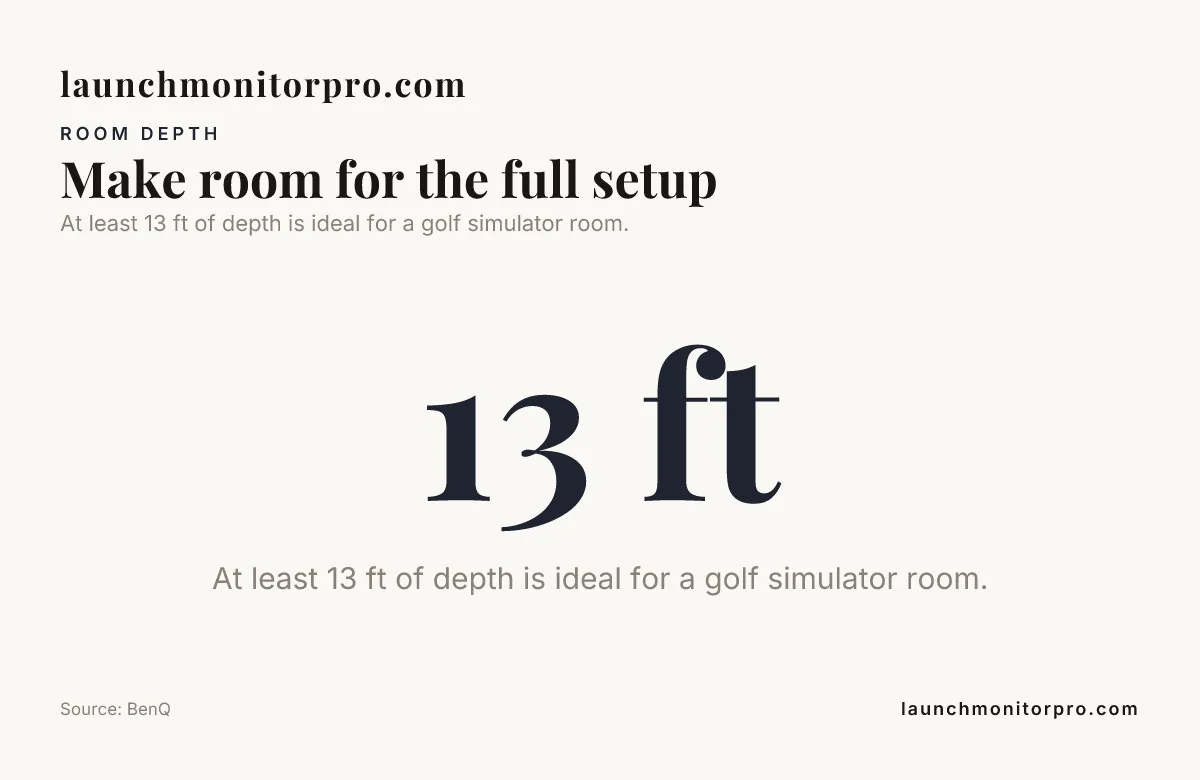
Depth is not one open rectangle. Map the space from the back wall forward: launch monitor position, golfer and mat, ball-to-screen flight area, screen frame, and a screen buffer behind the impact surface.
A radar launch monitor often sits behind the ball and tracks the early part of the ball flight. That means a radar setup uses depth behind the golfer for the device and depth in front of the ball for tracking and impact-screen clearance. A camera-based system may place the unit beside the hitting area instead, but it still needs a clear ball path and room for its device footprint.
Garmin’s setup guidance for the Garmin Approach R10 places the device 6 to 8 ft behind the ball and calls for at least 8 ft from the ball to the net. That creates a device-to-net span of 14 to 16 ft before adding screen framing, enclosure space, and the buffer behind the screen.
For the Rapsodo MLM2PRO, reserve room for the device and a clear ball path.
| Launch monitor | Device to ball | Ball to net | Planning note |
|---|---|---|---|
| Garmin Approach R10 | 6 to 8 ft | At least 8 ft | 14 to 16 ft device-to-net span before enclosure clearance |
| Rapsodo MLM2PRO | Follow setup instructions | Follow setup instructions | Reserve room for device placement and ball path |
These setup distances show why choosing a monitor after building the room can create avoidable compromises. Before fixing the tee or screen, follow the chosen model’s placement instructions and reserve its sensing area.
The FlightScope Mevo+ and Garmin R10 indoor placement guide explains a practical 10-foot flight rule: leave about 10 ft of early ball flight in a consistent sensing area for an entry-level radar setup. Treat that as a planning guideline, not a universal manufacturer specification for every monitor.
Fit the Monitor, Screen, and Projector Into the Layout
Put the tee and mat in place before choosing the final monitor position. The tee should align with the screen image, while the monitor should sit at its required distance and angle without obstructing the golfer or crossing the ball path.
Camera-based systems such as the Bushnell Launch Pro use a different placement approach from radar units. The Bushnell Launch Pro is a three-camera launch monitor; plan its device location and hitting area according to its setup instructions.
For the Bushnell Launch Pro vs SkyTrak+ comparison, make the room footprint part of the decision. Keep power and data cables outside the golfer’s movement and ball paths.
Projector placement depends on throw ratio and the image width you want. Use the projector’s throw specification to calculate the lens-to-screen distance, then mark that lens position on the room plan before installing a ceiling mount.
Keep the projector outside the club’s swing envelope and avoid placing it where the golfer blocks the image. A short-throw model can reduce the distance needed between projector and screen, but the actual throw calculation and mounting position must fit the room and the golfer’s swing.
Adapt a Garage, Basement, or Short Room
Garages often have door tracks, openers, support hardware, storage, and changing floor levels. Measure the ceiling with the door in the positions you use, and keep the hitting area clear of tracks and moving panels.
Basements can have beams, pipes, ductwork, and low soffits. Move the tee toward the clearest overhead area if the layout allows, then repeat the full-club swing test from the actual mat position.
When the room is too short, first remove unnecessary depth from storage or equipment placement without reducing the monitor’s required sensing area. If the setup still does not fit, consider a monitor with a placement pattern suited to the room rather than forcing a radar unit into insufficient ball-flight space.
For a room that is too narrow, try an offset tee or a single-handed setup only when it preserves a safe swing arc. For a low room, relocate the hitting area beneath the highest clear ceiling section; do not count on a shortened swing as the permanent solution.
Golf Simulator Room Dimensions Checklist
- Measure clear width, depth, and ceiling height from finished surfaces.
- Account for the mat, screen frame, screen buffer, and floor changes.
- Mark beams, fixtures, garage door tracks, utilities, and other fixed obstacles.
- Reserve the launch monitor’s device position and tracking space.
- Place the screen, tee, mat, and projector on a room plan before installation.
- Test the longest club with a normal swing for every intended golfer.
- Test separate right-handed and left-handed tee positions when needed.
- Keep cables, computers, and loose equipment out of the swing and ball paths.
- Check that the impact screen and side protection contain likely misses safely.
See also: launch monitor buying guides, golf simulator projector brightness.
Summary
Good Golf Simulator Room Dimensions planning starts with usable space, not the room’s outside measurements. Measure the whole swing arc, reserve the launch monitor’s tracking area, and test the finished layout with each golfer before committing to a permanent screen or mount.
We publish practical golf simulator and launch monitor guidance through Launch Monitor Pro. Publisher: Viking Trading Group LLC.
Frequently Asked Questions
Can I build a golf simulator in a room with a sloped ceiling?
Yes, provided the sloped section leaves enough room for the full club arc, not only at the tee.
Should I measure my garage with the door open or closed?
Measure the garage layout with the door in each position used during play, and account for the space occupied by its hardware.
How should I route computer and monitor cables?
Route cables along a wall or a protected perimeter, then secure them so they cannot cross the golfer’s stance, swing path, or ball path. Leave enough slack for the device’s intended position without creating a loop on the floor.
Can one hitting position work for right-handed and left-handed players?
One position works only if both players have safe swing arcs and the monitor can track both stances.
Does a floor-mounted hitting mat change my ceiling measurement?
Yes. Use the mat’s top surface as the golfer’s starting level when checking overhead clearance.
Download the Companion Printable Sheet (PDF)
Print or save the one-page companion to this guide: Garage & Spare-Room Simulator Dimension Worksheet. It collects the key tables and the checklist from this article.
Published by Launch Monitor Pro, a publication of Viking Trading Group LLC.