
Golf Simulator Setup Cost: Budget Beyond the Monitor
The full cost of a golf simulator setup depends on your hitting area, screen or net choice, display, software, and any room work. Price the whole build, including recurring fees and installation, rather than treating the launch monitor as the total cost.
Key Takeaways
- A complete setup may include a launch monitor, hitting mat, impact screen or net, side protection, software, and a computer or display.
- Room dimensions and monitor placement affect which equipment will fit and whether a safe hitting area is possible.
- Subscriptions, special balls, installation, delivery, taxes, and room changes can add costs beyond equipment prices.
- A net and monitor can suit practice, while a projected screen and enclosure add visual immersion and more containment needs.
- Compare monitors by goals, space, software, and total ownership costs using our launch monitor buying guides.
Free Printable Worksheet (PDF)
Print or save the one-page companion to this guide: Home Golf Simulator Bill of Materials & Budget Tier Sheet. It collects the key tables and the checklist from this article.
Related guides
What Goes Into a Full Simulator Budget?
A useful budget separates upfront purchases, recurring fees, and replacement or room costs. That makes it easier to compare a starter practice setup with a projected simulator without assuming every build needs the same equipment.
At Launch Monitor Pro, we recommend writing down the full component list before buying. A monitor price is only one line, and the room can determine whether you also need an enclosure, side netting, a projector, electrical work, or lighting control.
| Budget category | Usually upfront or recurring? | What to account for |
|---|---|---|
| Launch monitor | Upfront purchase | Device price, required accessories, and software compatibility |
| Screen, enclosure, or net | Usually upfront | Ball containment, side protection, mounting, and replacement over time |
| Hitting mat and strip | Upfront purchase, with wear over time | Stance area, hitting surface, and replaceable strip options |
| Software and membership | Upfront or recurring | Course access, data features, and third-party software charges |
| Projector, computer, or display | Upfront purchase | Compatibility, image size, placement, and existing equipment |
| Room work and installation | Depends on the room | Mounting, electrical changes, delivery, taxes, and climate comfort |
Launch Monitor Price, Features, and Software Costs
The monitor affects more than the first invoice. Its placement, data features, required balls, software options, and computer needs influence the rest of the golf simulator setup.
A shortlist might include the Garmin Approach R10, Rapsodo MLM2PRO, FlightScope Mevo+, Bushnell Launch Pro, SkyTrak+, or Uneekor EYE MINI. Compare the device and software as a pair, and check the manufacturer’s space and equipment requirements before choosing a screen, projector, or computer.
Rapsodo lists the MLM2PRO at $699.99, with a sale price of $549.99 on November 1, 2026. The box includes a 21 day free trial of Core membership, which then costs $199.99 per year, billed yearly. A box of RPT golf balls costs $69.99 on rapsodo.com. The membership is required for features including spin data and simulation functions, so the hardware price alone does not reflect the full ownership cost.
| Rapsodo MLM2PRO cost item | Listed cost | Budget note |
|---|---|---|
| MLM2PRO hardware | $699.99 regular, $549.99 sale | Upfront purchase |
| Core membership | $199.99 per year | Billed yearly after the 21 day trial |
| RPT Golf Balls pack | $69.99 | Needed for the monitor’s spin measurements |
| Hardware plus one year of Core | $899.98 regular, $749.98 sale | Calculated total before balls, tax, or other equipment |
It also describes third-party simulator software as a separate cost to include when applicable.
For indoor use, the Uneekor EYE MINI CORE is a ground-based camera unit that requires a PC and power, tracks a 12 by 8 inch hitting zone, and supports any ball. At about $1,249, it is in a similar price range to the FlightScope Mevo Gen2 at about $1,299; those are separate models from the FlightScope Mevo+.
For a closer look at the Bushnell Launch Pro versus SkyTrak+, compare the costs and software requirements alongside how each monitor will fit your room. A photometric vs radar launch monitor comparison is useful only when it reflects your intended space and software, not just a feature list.
To compare the monitor and its software over time before you budget for the rest, use the launch monitor true cost calculator.
Choose a Net, Impact Screen, or Enclosure
A hitting net makes sense when your main goal is practice and you do not need a projected image. It can simplify a starter build, but it still needs to contain missed shots and protect the surrounding area.
An impact screen lets you project a simulated course while catching golf balls. A full simulator enclosure adds a frame and side protection around the screen, which helps contain mishits but requires more room and careful installation.
- Net: A practical choice for ball striking and a smaller, simpler display setup.
- Impact screen: Suitable for projection, with screen tension and mounting affecting the image and ball rebound.
- Enclosure: Adds side and overhead containment around a projected hitting area.
- Side netting: Useful where shots can miss wide or the room has exposed walls, windows, or equipment.
Do not choose a screen based only on its visible image area. Include frame dimensions, side protection, the monitor’s hitting position, ceiling obstructions, and enough clearance for golfers who play left or right handed if they will share the space.
Hitting Mat, Hitting Strip, and Floor Protection
A hitting mat needs to provide a stable stance and a hitting surface that suits regular practice. A mat that is too small can leave feet at different heights or force golfers to stand on a hard floor.
A replaceable hitting strip can make sense if the surrounding stance area remains in good condition. Compare the strip’s dimensions and placement with the monitor’s hitting zone, and make sure the mat does not shift when a golfer swings.
In a garage, consider the surface beneath the mat, moisture, and how the equipment will be stored between sessions. Floor protection and a defined stance area can help keep the setup usable without turning the entire room into a permanent golf bay.
Projector, Computer, Display, and Software
Choose the projector after measuring the room and screen, not before. Match the projector’s throw ratio to the image width and available mounting distance, then plan for ceiling obstructions, golfer shadows, image shape, and room lighting.
A short throw projector can help when the available distance between the projector and screen is limited. The correct choice still depends on the screen size and placement, so measure the usable projection area before selecting a model.
Simulator software may run on a gaming computer, tablet, or another supported device, depending on the monitor and software combination. Windows computers often allow broader software and display options, while tablet setups can be simpler when the specific app supports the chosen monitor.
Before buying separate parts, verify the monitor’s supported software, the software’s device requirements, and the computer’s ability to connect to the intended display. Our PC versus iPad simulator software guide explains why compatibility should come before the device choice.
Keep software subscriptions separate from upfront equipment costs. A monitor may include a trial or basic functions, while course libraries, advanced data, or third-party simulation can carry ongoing or separate fees.
Measure the Room Before Ordering Equipment
Room dimensions affect comfort, monitor placement, screen size, and ball safety. A home simulator planning guide uses at least 8.5 feet of width, 15 feet of depth, and 8 feet of height as a general reference, with 17 feet of depth described as more comfortable.
| Measurement or placement | Planning reference | Why it matters |
|---|---|---|
| Room width | At least 8.5 feet | Allows room for the hitting area and swing clearance |
| Room depth | At least 15 feet; 17 feet is more comfortable | Allows for monitor, golfer, ball flight, and containment |
| Room height | At least 8 feet | Helps avoid ceiling conflicts during a full swing |
| Rapsodo MLM2PRO placement | 6.5 to 8.5 feet behind the ball | Requires a suitable radar and ball-flight layout |
These figures are planning references, not a substitute for the selected device’s manufacturer instructions. Our home simulator setup guide explains how to map the monitor, hitting position, containment, and display together.
Measure the ceiling at the swing position, not only near the walls. Note ceiling fans, lights, garage tracks, storage, doors, and the space needed behind the screen before ordering an enclosure or projector mount.
DIY Build or Complete Package?
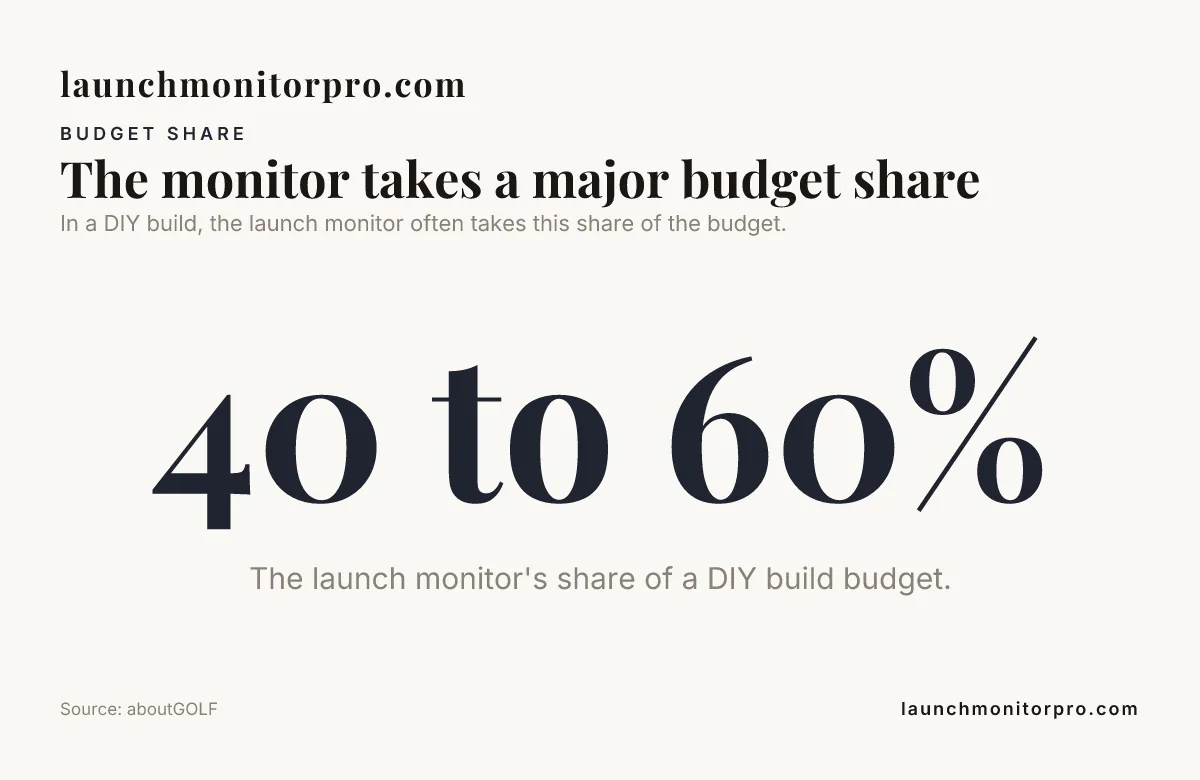
A DIY setup lets you choose each component and reuse equipment you already own. It can also create compatibility gaps, duplicate purchases, or extra installation work if the screen, software, monitor, and computer are selected independently.
A package can make component matching easier, but its advertised contents still need a careful review. Compare the package list against your own checklist and mark each line as included, optional, or still required.
| Approach | Best fit | Budget checks |
|---|---|---|
| DIY net and monitor | Practice first, limited projection needs | Net protection, mat, balls, software, device placement |
| DIY screen and enclosure | Custom room or staged purchases | Frame, screen, side protection, projector, mounting, computer |
| Complete package | Matched equipment in one purchase plan | Included monitor, software, subscriptions, mat, delivery, installation |
Room costs may include electrical work, ceiling reinforcement, lighting controls, delivery, taxes, and installation. Treat climate comfort and storage as separate choices: a garage that needs heating, cooling, or equipment storage adds needs that a spare indoor room may not.
Golf Simulator Setup Checklist
- Measure room width, depth, ceiling height, swing area, and screen setback.
- Mark monitor, ball, golfer, screen, and net positions on a room plan.
- Decide whether practice needs call for a net or whether course projection is important.
- Choose a mat and hitting strip that provide a stable stance and match the hitting zone.
- Check monitor, software, computer, and display compatibility before purchasing separate components.
- Price memberships, special balls, software, installation, delivery, taxes, and room changes as separate lines.
- Compare every package inclusion with the DIY parts list to find missing or duplicated items.
See also: how to set up a home golf simulator.
Conclusion: Plan Beyond the Monitor
The full Golf Simulator Setup Cost comes from the complete system: safe containment, a suitable mat, compatible software and display, and a room that fits the swing and equipment. Build the budget from those parts, separate recurring charges from upfront purchases, and choose the experience you will actually use before committing to the rest.
Frequently Asked Questions
Can I use an existing television instead of buying a projector?
Yes, a compatible television can display simulator software and can help you begin without planning a projected image. Position it where you can see the data without placing the screen or stand in the ball’s path.
Can I reuse a gaming computer I already own?
Often, if it meets the selected simulator software’s requirements and supports the display connection you need. Test the planned software and output setup before buying a second computer.
Can I build a simulator in stages?
Yes. Start with the monitor, a suitable hitting mat, and safe ball containment, then add projection or a larger enclosure later. Keep the hitting position and room measurements consistent so later equipment can fit the same layout.
Does a garage floor need special preparation?
A stable, dry floor makes it easier to position a mat and keep equipment steady. If the floor is uneven or damp, address that before fixing an enclosure or projector mount in place.
What can make a projected image hard to see?
Ambient light on the screen can reduce contrast, especially when sunlight enters the room. Curtains, blinds, or controllable lighting can improve visibility without changing the launch monitor or simulator software.
How much to build a golf simulator?
The cost depends on whether you choose a basic setup with a net and monitor or a projected screen with an enclosure, computer, and room modifications. Budget for the monitor, hitting mat, ball containment, software and subscriptions, display equipment, installation, and any delivery or room work, not just the launch monitor.
Download the Companion Printable Sheet (PDF)
Print or save the one-page companion to this guide: Home Golf Simulator Bill of Materials & Budget Tier Sheet. It collects the key tables and the checklist from this article.
Published by Launch Monitor Pro, a publication of Viking Trading Group LLC.