
Golf Simulator Projector Brightness: Match Lumens to Light
To size projector brightness, compare the projector’s actual output with the screen area and the light falling on it. A larger screen needs more light, while blocking light at the screen often improves contrast more effectively than adding projector brightness.
Key Takeaways
- Start with screen area. The same projector output spreads across a larger image, reducing brightness per square foot.
- Compare ANSI lumens, not vague lumen claims. ANSI lumens identify a more comparable measurement method, but a projector’s selected picture mode and zoom position can deliver less light than its headline rating.
- Control light at the impact screen. Daylight and reflections raise the apparent black level, making the image look washed out even when the projector is bright.
- Light the hitting area separately. Aim fixtures at the mat and away from the screen to support safe movement without washing out the image.
- Check placement and shadows. Throw ratio, mounting distance, and the golfer’s position determine whether the projector can fill the screen without casting avoidable shadows.
- Judge the whole picture. Brightness matters alongside contrast, color accuracy, focus, and resolution.
Free Printable Worksheet (PDF)
Print or save the one-page companion to this guide: Projector Throw Ratio, Aspect Ratio & Lumen Matrix. It collects the key tables and the checklist from this article.
Related guides
Estimate On Screen Brightness from Lumens and Screen Area
Use this approximate calculation to compare a projector with the planned image: foot-lamberts (fL) = actual projector lumens × screen gain ÷ projected image area in square feet. It assumes the measured light reaches the screen evenly, and real room results can be lower.
For example, a 16:9 image that is 10 feet wide and 5.625 feet high covers 56.25 square feet. At screen gain 1.0, about 1,125 lumens would produce an illustrative 20 fL.
| 16:9 image width × height | Image area | Idealized output for 20 fL at gain 1.0 |
|---|---|---|
| 10 × 5.625 feet | 56.25 square feet | About 1,125 lumens |
| 12 × 6.75 feet | 81 square feet | About 1,620 lumens |
| 14 × 7.875 feet | 110.25 square feet | About 2,205 lumens |
20 fL is an example for calculation, not a universal requirement or a promise of picture quality. Ambient light, measured projector output, screen reflectance, and image uniformity all affect the result.
A larger impact screen spreads the same projector output over more area, so brightness per square foot falls. Keep the larger image only when the projector can supply the added output or you can darken the screen area.
Plan the image alongside the room and mounting position, rather than treating it as a final add-on. Our home golf simulator planning guide covers room measurements, monitor placement, containment, software, and display planning.
Match Room Lighting to the Image You Want
Light that reaches the screen lifts its apparent black level and reduces image contrast. Direct daylight or a strong reflection can leave the picture looking washed out even if the projector has more output available.
First block daylight and redirect or dim fixtures that shine on the impact screen. This preserves contrast, rather than asking projector brightness to overpower unwanted light.
Set up separate lighting zones: keep enough light over the hitting mat for safe movement and visibility, then aim fixtures away from the screen. Bright walls, floors, or other nearby surfaces can also reflect light back onto the image.
Projector lighting and launch monitor tracking are separate parts of the setup. Follow the maker’s setup conditions for the Garmin Approach R10, Rapsodo MLM2PRO, FlightScope Mevo+, Bushnell Launch Pro, SkyTrak+, or Uneekor EYE MINI you use; their tracking requirements do not define the projector’s brightness needs.
The How to Set Up a Home Golf Simulator: A Practical Planning Guide is useful here because it covers room measurements, launch monitor placement, containment, software, display, and a first-session check.
Keep monitor selection separate from screen lighting when comparing equipment. Our launch monitor buying guides help frame that equipment choice, and the Garmin R50 vs Bushnell Launch Pro comparison looks at two premium monitors side by side.
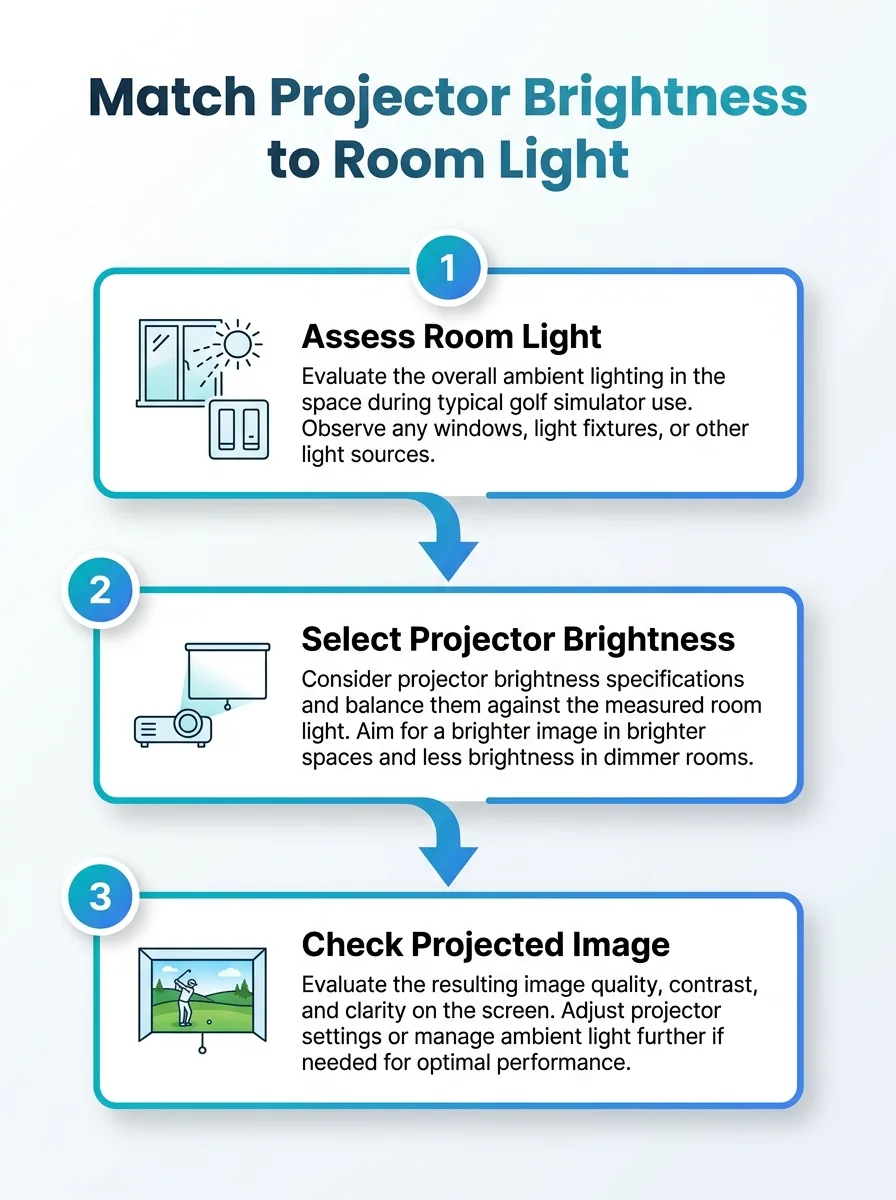
This infographic shows how to match golf simulator projector brightness to the amount of light in the room. Use it to choose a lumen level for your setup.
Account for Screen Size, Gain, and Image Quality
Screen gain describes how much light a screen reflects toward a viewing position compared with a reference surface. Higher gain can make the image appear brighter from some positions, but it can also narrow the useful viewing angle or create uneven brightness.
Screen material and reflectance affect both the projected picture and how much room light returns toward the viewer. Gain does not replace light control: a reflective screen can still look washed out when stray light reaches it.
The table compares the same three screen areas using gain 1.0 and 1.2. These are idealized estimates for 20 fL, not measured performance from any projector.
| Image area | Estimated output at gain 1.0 | Estimated output at gain 1.2 |
|---|---|---|
| 56.25 square feet | 1,125 lumens | About 938 lumens |
| 81 square feet | 1,620 lumens | 1,350 lumens |
| 110.25 square feet | 2,205 lumens | About 1,838 lumens |
A brighter projector does not automatically make a better picture. Check focus, resolution, color accuracy, and image contrast as well as brightness; extra light cannot restore fine detail or accurate color when those settings are poor.
Lamp, laser, and LED describe the projector’s light source, not a comparable brightness measurement. Compare stated ANSI lumens in the picture mode you intend to use, then weigh light source maintenance and image quality against your room and budget.
Check Throw Distance, Placement, and Real Output
Throw ratio is the projector to screen distance divided by image width. It tells you whether a projector can create your chosen screen size from the mounting position your room allows.
Zoom position can affect measured brightness, and a projector mounted too far back may fail to fill the screen or may need a less favorable zoom setting. Confirm the image width and mounting distance together before you settle on a projector position.
Check the beam path against the golfer, club, and launch monitor to reduce shadows. A short-throw projector can suit a room with limited depth, but its throw ratio and mounting constraints still need to fit the planned screen and swing space.
Verify brightness after installation using the intended image size, picture mode, zoom, and room lighting. Use measured output or the same on-screen measurement method each time instead of assuming the advertised maximum is what your finished setup delivers.
Projector Brightness and Room Lighting Checklist
- Measure the screen. Record width and height, calculate area in square feet, and estimate foot-lamberts using actual projector output and screen gain.
- Find light sources and reflections. Identify daylight, fixtures, and bright surfaces that send light onto the screen, then reduce those sources before relying on more projector output.
- Confirm the projector position. Check throw ratio and mounting distance to fill the image without putting the projector in the golfer’s swing or creating avoidable shadows.
- Test the finished picture. Use the planned resolution and picture mode with the hitting area lit as it will be during play, then judge contrast, color, detail, and brightness.
- Keep tracking requirements distinct. Follow the manufacturer’s setup conditions for the launch monitor model instead of treating projector brightness as a tracking specification.
See also: golf simulator room dimensions.
Summary
To choose Golf Simulator Projector Brightness, start with the screen’s area, use actual output and gain to estimate on-screen brightness, and control light that reaches the image. Check throw, placement, contrast, and picture quality in the finished room before deciding that you need more lumens.
Frequently Asked Questions
Can eco mode make a golf simulator projector too dim?
Yes. Eco mode can reduce output enough to make bright course scenes or full-screen menus look dull, even if darker content seems acceptable.
Does HDR make a dim projector look brighter?
No. HDR tone mapping works within the projector’s available light and contrast range, so it cannot add output the projector does not produce.
How often should I clean a projector filter?
Follow the projector maker’s maintenance schedule, and clean it more often in a dusty room. Restricted airflow can raise operating temperature and lead to thermal dimming or shutdown.
Should I leave extra brightness headroom?
Some reserve gives you more flexibility when calibrating picture settings, since maximum output is not always the most comfortable or accurate setting. Treat headroom as room for adjustment, not as a fix for poor contrast.
Download the Companion Printable Sheet (PDF)
Print or save the one-page companion to this guide: Projector Throw Ratio, Aspect Ratio & Lumen Matrix. It collects the key tables and the checklist from this article.
Published by Launch Monitor Pro, a publication of Viking Trading Group LLC.