
Outdoor Golf Launch Monitor: Check Range Conditions First
An outdoor golf launch monitor session starts with the driving range, not the device: confirm permission, bay layout, hitting surface, and weather before setting up. Then align the monitor and record the ball and range conditions so you can make sense of the numbers.
Key Takeaways
- Ask whether the range allows personal launch monitors and whether your setup can sit safely in the bay.
- Radar and camera based monitors track shots differently, so choose for the range layout and data you want.
- Range balls, mats, wind, temperature, and elevation can change readings or how you should interpret them.
- Use one alignment routine and log conditions each session to spot trends instead of reacting to one shot.
- For a broader overview of monitor options, see our launch monitor buying guides and Launch Monitor Pro.
Free Printable Worksheet (PDF)
Print or save the one-page companion to this guide: Driving Range Setup & Range-Ball Normalization Checklist. It collects the key tables and the checklist from this article.
Related guides
Check Range Permission, Space, and Safety
Driving ranges set their own rules for personal tracking equipment. Call or ask staff before your visit, and confirm whether the monitor may sit behind the hitting area, beside the ball, or anywhere that could extend into a shared bay.
Check the stall width, the position of dividers, the hitting surface, and the direction of the ball flight. A radar unit placed behind you needs a clear view of the ball and flight path, while a camera based unit needs an unobstructed view of the hitting area.
Make sure the device, tripod, phone, and cables stay within your assigned space. If the bay is too tight for the manufacturer’s placement instructions, use a different setup or practice without the monitor rather than placing equipment where someone could trip over it.
Our practical Outdoor Golf Launch Monitor approach is to check the facility rules and physical setup before comparing features. A monitor that cannot be positioned correctly will not provide a useful session, regardless of its metric list.
Compare Tracking Technology for Outdoor Use
Doppler radar follows the ball through flight and uses that information to measure or calculate shot data. It suits an outdoor range when the device has a clear flight path and enough room behind the hitting position, but limited flight, netting, or nearby activity can restrict a good setup.
Optical tracking uses cameras to observe the ball and club around impact. It depends on a clear view, lighting, and visible ball movement, so glare, shadows, poor contrast, or an obstructed camera angle can complicate use outdoors.
Garmin Approach R10 uses Doppler radar and Garmin lists more than a dozen metrics and up to 10 hours of battery life. The Rapsodo MLM2PRO combines radar with two optical cameras, while the FlightScope Mevo+ is a radar option to consider when the range provides a clear flight area.
Camera based alternatives include the Bushnell Launch Pro and SkyTrak+, along with the Uneekor EYE MINI. Compare the required placement, the data you want, and how the device handles the range environment; outdoor performance varies by monitor and setup.
| Monitor | Tracking approach | Useful documented detail |
|---|---|---|
| Garmin Approach R10 | Doppler radar | More than a dozen advertised metrics and up to 10 hours of battery life |
| Rapsodo MLM2PRO | Radar with optical cameras | Two optical cameras |
| FlightScope Mevo+ | Radar | Consider available flight space and the device’s placement instructions |
| Bushnell Launch Pro | Camera based | 5 to 7 hours of battery life |
| SkyTrak+ | Camera based | Compare its setup and data needs with the range bay |
| Uneekor EYE MINI | Camera based | Check the intended hitting area and clear camera view |
Use Manufacturer Placement Guidance
Placement is model specific. A few inches of position or a device that is not level can affect alignment, so follow the relevant manual and repeat the setup each time you move bays.
Garmin’s indoor guidance places the Approach R10 6 to 8 feet behind the ball, with at least 8 feet between the ball and the net. Rapsodo’s general guidance for the MLM2PRO places it 6.5 to 8.5 feet behind the ball, with at least 8 feet from the ball to the net.
Those distances describe indoor setup guidance, not a universal outdoor spacing rule. At a range, use the manufacturer’s instructions for the actual environment and confirm that the required position fits inside your bay.
| Model | Documented placement or operating detail | Range setup check |
|---|---|---|
| Garmin Approach R10 | 6 to 8 feet behind the ball for indoor setup; at least 8 feet from ball to net | Keep the unit aligned with the target line and within the bay |
| Rapsodo MLM2PRO | 6.5 to 8.5 feet behind the ball for general setup; at least 8 feet from ball to net | Allow the cameras a clear view of the hitting area |
| Bushnell Launch Pro | 5 to 7 hours of battery life | Keep the ball in the designated hitting area and device view |
Account for Range Balls, Mats, and Turf
Range balls are not always equivalent to the ball you play on the course. Their construction, wear, and flight characteristics can affect ball speed, spin rate, and carry distance, so use the same type of range ball when comparing sessions whenever possible.
Mats also change the feel of impact and can alter turf interaction, especially on shots where the club contacts the surface before or after the ball. Record whether you hit from a mat or grass, and avoid treating the two surfaces as interchangeable when reviewing launch conditions.
For spin practice, note whether the monitor measures spin directly or relies on an estimate, and follow its ball requirements. The MLM2PRO requires approved RPT balls for measured spin rate and spin axis; Garmin lists Titleist RCT support for spin rate on the R10 indoors.
The graphic below shows a controlled ball temperature test. Log conditions when comparing sessions because the ball and weather can vary.
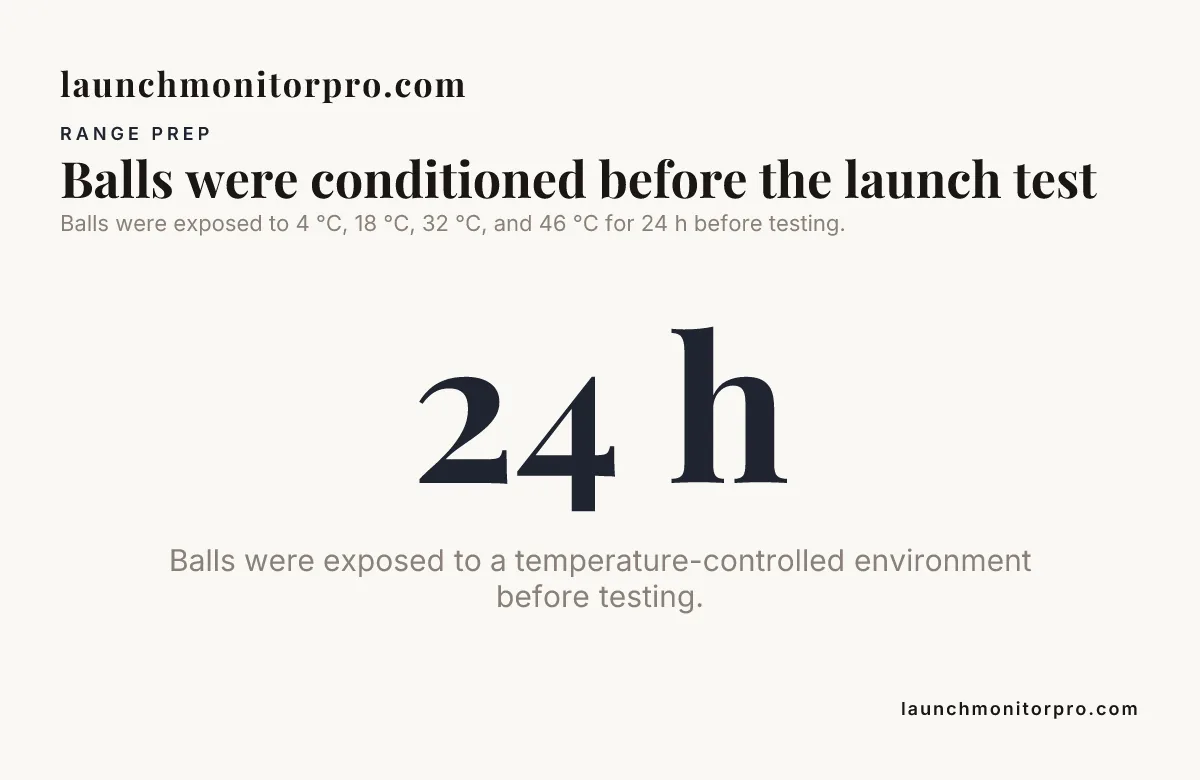
Balls were exposed to 4 °C, 18 °C, 32 °C, and 46 °C for 24 h before testing.
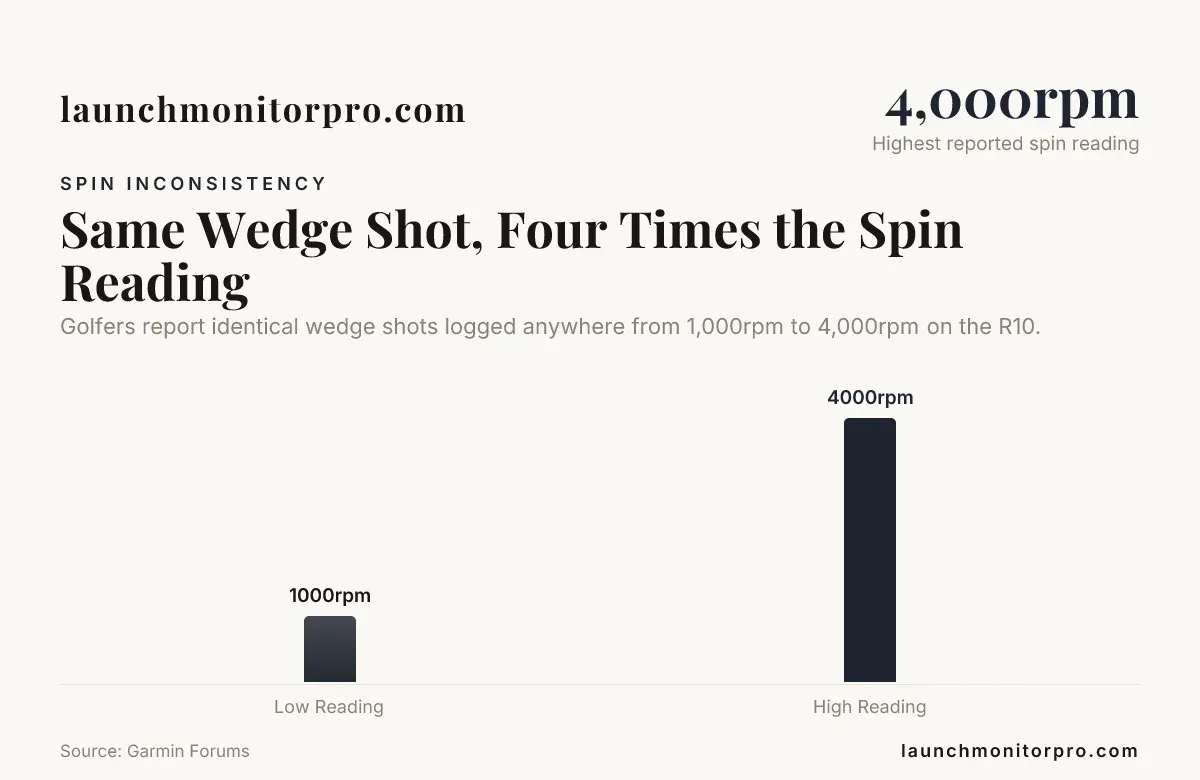
The Garmin R10 wedge spin guide illustrates why spin readings deserve extra care, particularly when conditions or the shot type challenge tracking.
Separate Tracking Limits from Flight Conditions
Some conditions affect whether a monitor sees a shot well. A blocked view, poor alignment, insufficient flight space, low contrast, glare, or heavy rain can make tracking more difficult, depending on the sensor and setup.
Other conditions change the ball flight or the meaning of the reading. Wind can push the ball off its expected path, colder air and a cold ball can reduce distance, humidity has a smaller effect on air density, and higher elevation usually means less aerodynamic drag.
Keep the distinction clear: a monitor can record a shot accurately while the outdoor conditions make its carry different from a calm day. Likewise, a clean looking number does not prove the unit captured every launch condition reliably.
Write down wind direction and strength in plain terms, temperature, whether the range is elevated, the ball type, and the hitting surface. Compare sessions with similar conditions first, then treat changes across different conditions as context rather than a direct equipment or swing change.
Read Metrics for Practice, Not as a Scorecard
Launch monitor metrics explained can help you decide which readings matter for your session. Ball speed reflects the speed of the ball after impact, launch angle describes its initial vertical direction, spin rate describes its rotation, and carry distance estimates how far it flies before landing.
Clubhead speed describes the club’s speed at impact. Smash factor relates ball speed to clubhead speed, while shot dispersion shows how consistently shots finish left or right of the target line.
For a purposeful session, pick one question before hitting. For example, compare carry and dispersion with one club, or track ball speed while keeping the target, ball type, and setup steady.
Do not let a single shot or session average dictate a swing change. Look for a repeated pattern across several sessions, and note whether the range ball, mat, wind, or temperature changed along with the reading.
To build a personal baseline, compare your own shots under similar conditions and use the same device, club, target, and ball type. Range numbers are most useful when you later check whether the same club produces comparable gaps and shot shapes on the course.
Driving Range Checklist
- Permission: Ask staff whether personal launch monitors and tripods are allowed.
- Bay layout: Check that your device and any phone or cables fit within your assigned space.
- Placement: Follow the monitor’s instructions for distance, height, and alignment.
- Flight area: Confirm that netting, dividers, or limited ball flight will not obstruct the tracking method.
- Surface and ball: Record whether you are hitting from grass or a mat, and note the range ball type.
- Weather: Log wind, temperature, and any conditions that affect visibility or ball flight.
- Repeatability: Mark or remember the device and ball positions so you can recreate the setup next time.
- Safety: Keep equipment clear of walkways and other golfers’ swing areas.
If a shared bay or short flight area prevents ideal placement, ask staff whether another bay is available. If not, use the session for controlled practice with the data your setup can capture, and avoid comparing it directly with readings from a different setup.
See also: radar launch monitor distance checks.
Summary
An Outdoor Golf Launch Monitor means checking permission, space, placement, ball type, surface, and weather before you trust the numbers. Choose radar or optical tracking to suit the range, repeat your alignment, and use consistent conditions to build a useful personal baseline.
Frequently Asked Questions
Can I use a personal launch monitor at any driving range?
No. Range rules vary, and some facilities restrict devices, tripods, or placement outside the hitting bay. Ask staff before your visit and keep the setup within the space they assign.
How can I tell whether a reading is a tracking problem or a weather effect?
Repeat a shot with the same club and setup, then check whether the monitor reports a complete reading and whether the ball flight visibly changed. If readings vary while flight looks consistent, inspect alignment and visibility; if flight changes with wind or temperature, record the conditions before comparing distances.
Should I use my own golf balls at the range?
Only if the facility permits it and the balls can be used safely in that bay. For useful comparisons, use the same ball model across sessions and follow any ball requirements specified for your monitor’s spin features.
What should I do if sunlight makes an optical monitor difficult to use?
Change the device angle or hitting position only if the manufacturer’s instructions allow it, and keep the camera view clear of direct glare and shadows. If the range layout does not provide a stable view, use a radar setup that fits the bay or practice without relying on optical readings.
How often should I recalibrate or realign a launch monitor?
Realign it whenever you move the device, shift the hitting position, or change bays. A quick alignment check before each session helps keep shot direction and dispersion useful for comparison.
Download the Companion Printable Sheet (PDF)
Print or save the one-page companion to this guide: Driving Range Setup & Range-Ball Normalization Checklist. It collects the key tables and the checklist from this article.
Published by Launch Monitor Pro, a publication of Viking Trading Group LLC.